This topic takes us back to the 16th century. During that era, artisans were often confined
or killed for creating work that involved their thoughts and thinking. Having
your own opinion or imagination was an offense back then.( Even Leonardo da Vinci went against the
orthodox rules and created the masterpiece, what we call today, Monalisa. ) Hence, to escape the punishments,
they hid amongst the priests at orthodox church. They used to get camouflaged
by wearing the long robes and tall hats. The only difference was that priests
wore black robes while the chefs back then wore grey. But ‘tall hat’ is one
such feature that is still an integral part of chef’s uniform today.
Marie-Antonie Carême
picture courtesy: wikipedia
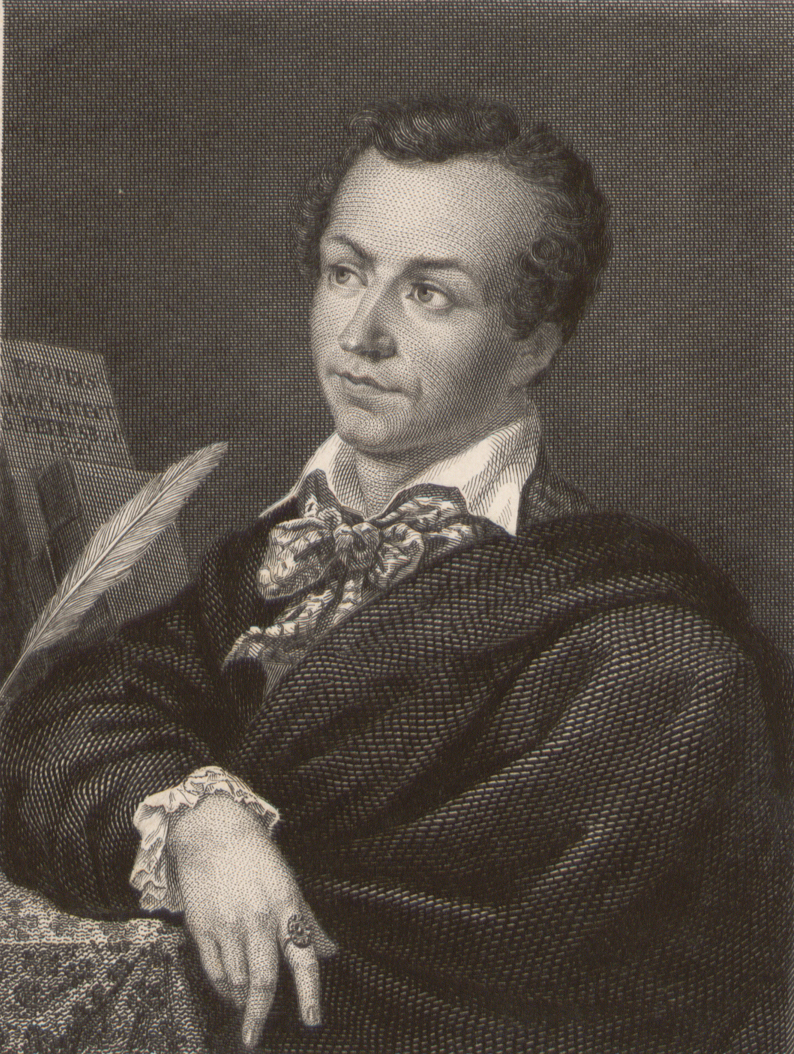
Then came the 18th century when the legend Marie-Antonie Carême (8 June 1783 – 12
January 1833) was born. He started his
career from being a potwasher at a Parisian Chophouse and succeeded at every
single step he took from then onwards. He was the one to categorize four mother
sauces. He changed the concept of service
à la française (serving all dishes at once). He invented the ‘course’
system that we have today service à la
russe (serving each dish in the order printed on the menu). We also call it
Russian style serving. It simply means bringing food to table in a particular
order one after other (what we call it as ‘course’). Carême also designed the uniform for chefs. He insisted on using
white double breasted chef’s jackets and hats. He chose white to be the colour
of the uniform for sanitary and hygiene reasons. He also came up with various
designs of chef’s hat, toque, where
each design represented a certain post in the kitchen. He himself is known to
wear a hat 18” tall. While the experienced staff used tall hats, the young
chefs wore caps. Not just this, he also invented many other sauces and recipes
and created a foundation for next
revolution in culinary world.
Auguste Escoffier
picture courtesy: nicetourism.com
Then the father of culinary world was born Auguste Escoffier (28 October 1846 – 12
February 1935). He was a culinary writer whose work was based on most of Carême’s work. He further categorized
the mother sauces into five different categories. He is to be credited for the
modern French cuisine. He is the author of various cookbooks and textbooks that
are used by chefs all around the world. His work not only speaks about recipes
and cooking methods, but helps the chefs today about managing the kitchen and
handling the culinary business. He gave a professional outlook to the position
of a Chef. He insisted that a chef should be perfectly dressed in his crisp white
uniform ready for his job. Even when off-kitchen, he expected them to be dressed
up formally in suites and ties. “A
cuisinier is judged worthy to wear La Toque Blanche only through his perfect
workmanship,” Escoffier once
said. It is believed that the number of pleats or fold on a chef’s hat
represented the number of ways in which he could cook EGG!
A result of hard, dedicated work of these great men and
their passion and devotion towards the Culinary business, we have a successful and
well-organized food industry.
An intricate part of a successful chef is his uniform. There
are various aspects of a chef’s uniform which were designed intently by Carême and
Escoffier keeping in mind the safety and sanitary aspects.
So lets have a look at a complete Chef.
picure courtesy: www.restauranteve.com
The obvious things that a chef should have include cleanliness, attitude, passion for food, good posture and discipline. All these are crucial qualities that one most possess in order to be a successful chef.
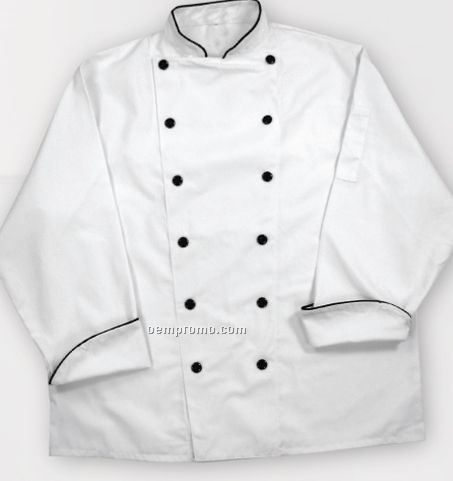
Double-breasted chef's coat:
picture courtesy: www.oempromo.com
White was the colour that Carême chose for a chef. White represents the hygienic conditions in kitchen and the cleanliness levels of a chef. The chef's coat is always double breasted with button and loops on each flap. The reason behind this design feature is that the flap can be reversed to hide the stains, if any.
Often plastic buttons are used on a chef's coat. But traditionally, knotted cloth buttons were preferred. The demand for knotted cloth buttons is back for several reasons. Firstly, a chef's coat goes through hard bleaching and rigorous washing for maintaining the white colour. Secondly, the plastic buttons may break or become loose due to washing or over a period of time. Whereas, knotted cloth buttons can easily withstand the washing pressure. Some say that knotted buttons are out-dated and old-fashioned. But fashion is a circle. What's old, comes back in fashion!
The long sleeves and double breasted coat protects the chef from heat and other hot things in the kitchen. It prevents an injury in case of a sudden accident.
picture courtesy: scoutmagzine.ca
Chef's hat:
picture courtesy: www.amazonsupply.com
Chef's hat is traditionally known as Toque. Carême designed different hats for different positions and suggested that experienced chefs should wear tall hats. The tall design of a chef's hat keep the air circulated and helps the chef to keep calm even under chaotic and hot conditions. Of course, the hat protects hair from heat in the kitchen and prevents loose hair from falling into the food. Also, the hat absorbs perspiration from forehead and thus serves a sanitary purpose. It is believed that the number of pleats or fold on a chef’s hat represented the number of ways in which he could cook EGG!
 |
picture courtesy:www.123rf.com
|
The various styles of Toque
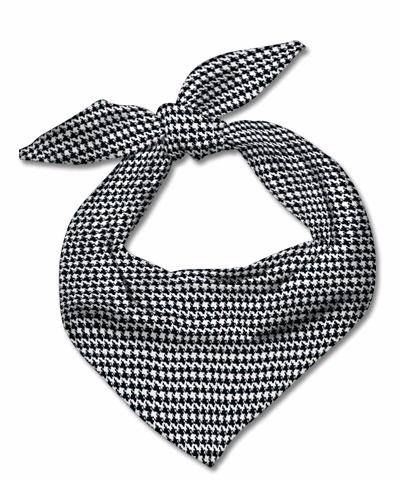
Neckerchief:
picture courtesy: mandyfly.en.ec21.com
picture courtesy: www.clubchef.com.au
A neckerchief was traditionally worn by chefs years ago. It is a triangular cloth rolled up and tied around the neck that helped in absorbing the sweat while working in a hot kitchen. But as years passed, technological revolution took place and today we have air-conditioned kitchens which have out-dated the use of a neckerchief.
Apron:
picture courtesy: www.curtisstone.com
An apron is another feature of a chef's uniform which protect the chef from serious burns and injuries in case of an unfortunate accident. An apron can worn in either ways:
picture courtesy: www.apronworks.org , www.caterfor.co.uk
Style(1) Style(2)
But we prefer style(2) for a simple reason that if the apron catches fire, it would be a dangerous task to take it out from the head and throw away. Rather untying it off the waist would be much easier and convenient.
Pants:
picture courtesy: www.cantexdistribution.com
Traditionally, black-and-white checked pants are worn by chefs. The black-and-white checks easily hide minor stains and other unwanted spots.
Albeit checkered pants are worn almost in every kitchen, executive chefs like their pants to be black in colour. It is just to differentiate them from the rest of the kitchen staff.
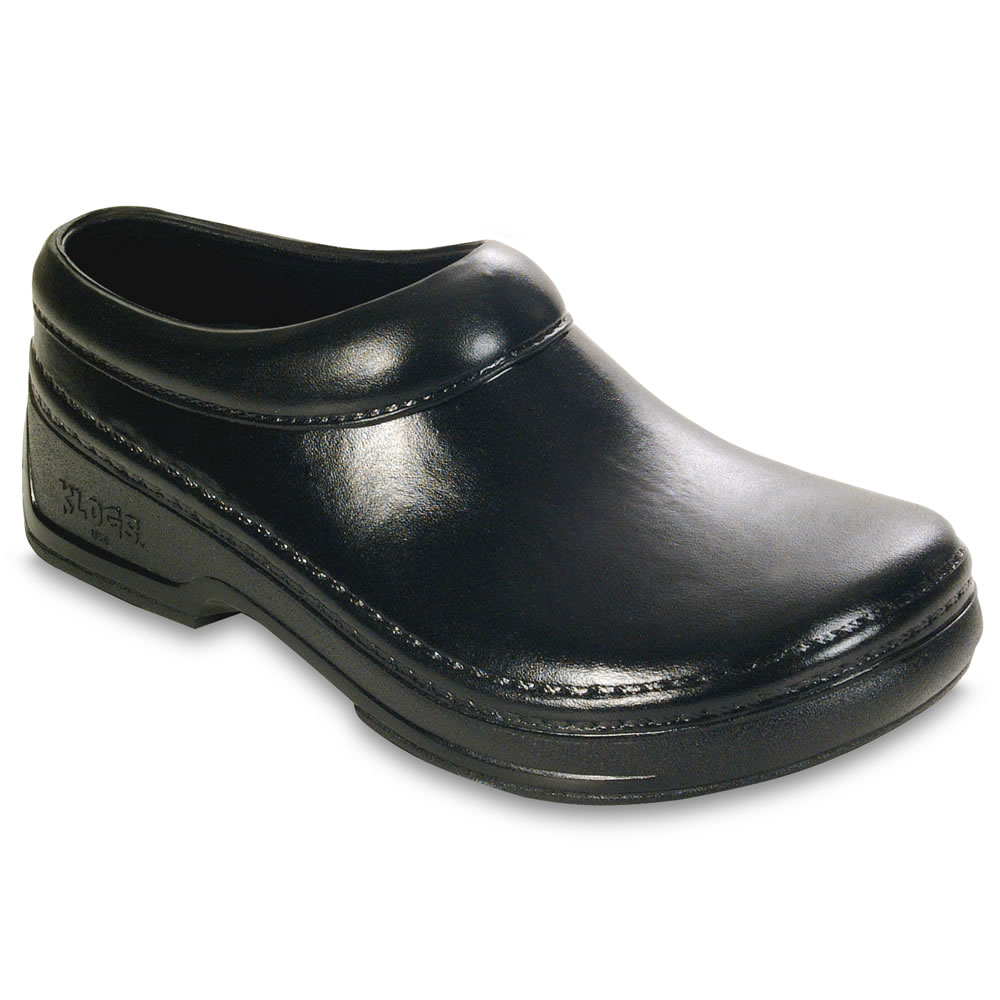
Shoes:
picture courtesy: www.hammacher.com
Closed toe, closed heel, steel toe, non-slip, non-absorbent shoes are preferred in every kitchen on floor. Closed toe and closed heel ensure safety of chef's foot if any sharp or heavy object fall on it. Non-slip shoes are preferred as there can be oil or water over the floor in kitchen. Non-slip shoes would prevent the chef from falling and getting hurt.Non-absorbent shoes prevent water or other hot liquids from entering the shoe and injuring the foot. Also, if the shoes get wet, it gives fungus and molds an opportunity to grow and thus create unhygienic conditions.
Jewellery should not be worn by chefs when working on floor. Wedding rings are still okay but any kind of earring, bracelet, necklace is strictly prohibited.
In spite of the designs suggested by our Godfathers, towards the end of 20th century, chefs started believing in peppy and non-traditional attire. This includes different patterns and prints on chef's coat like food ingredients, flowers and logos or even different colours. Various styles of pants and coloured hats also used now a days. Here are few modern looks:
picture courtesy: www.modoleen.com
picture courtesy: www.blueridgetrading.co.za
picture courtesy: www.culimited.com
.
picture courtesy: www.internet-workwear.co.uk
picture courtesy: hhproducts.ie


-1509.jpg)